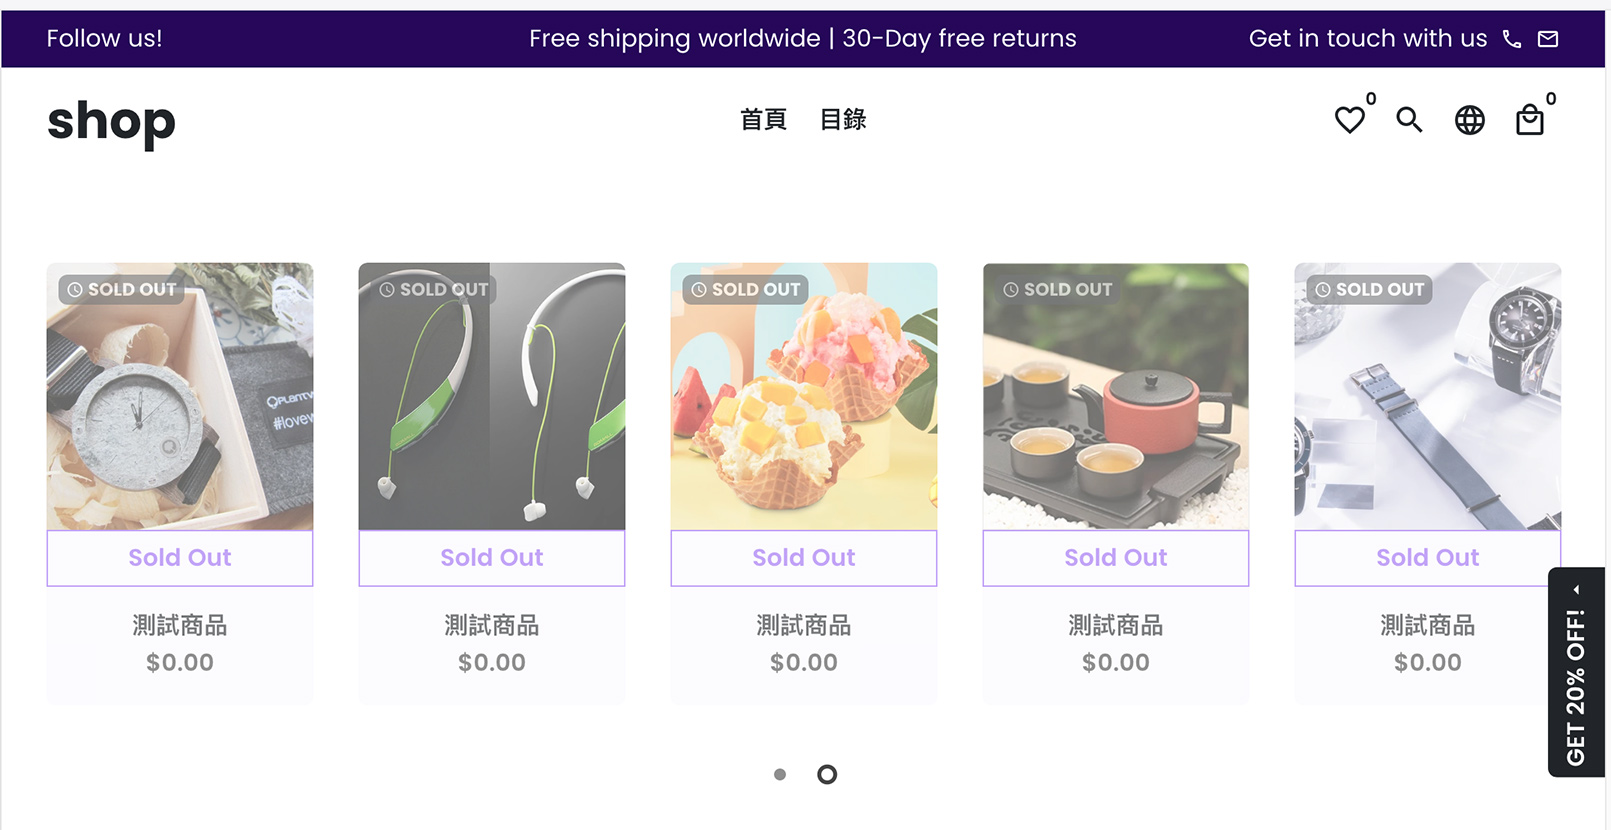
設計一個商品輪播的區段,輪播功能使用 Shopify 內的 Slick Carousel 套件
調整 sections/custom-section.liquid
<section class="custom-section" data-section-id="{{ section.id }}" data-section-type="custom-section">
  <div class="box">
    <div class="wrapper">
      <div class="grid grid-spacer slick slick-product-grid">
        {%- for block in section.blocks -%}
          {%- if block.settings.product_id == blank -%}
            <div class="grid__item grid-product flex empty"></div>
          {%- else -%}
            {%- render 'product-grid-item' with all_products[block.settings.product_id] as product -%}
          {%- endif -%}
        {%- endfor -%}
      </div>
    </div>
  </div>
</section>
{% schema %}
{
    "name": "Custom Section",
    "settings": [{
        "id": "custom_text_title",
        "type": "text",
        "label": "Text box heading",
        "default": "Title"
    }],
    "blocks": [{
        "type": "description",
        "name": "Product",
        "settings": [{
            "type": "product",
            "id": "product_id",
            "label": "Product"
        }]
    }],
    "presets": [{
        "name": "Custom Section",
        "category": "Product"
    }]
}
{% endschema %}
HTML
在這個例子中, section 標籤設定兩個 **data-* 屬性,當每個 section 建立時都會有一組 unique ID 可以通過這組 ID 來設定 script 的部分,所以將他儲存至 data-section-id,另外 data-section-type** 則是用來定義 script 的初始化類別。
blocks 的部分是由商家可以自行增加,在 Liquid 中可通過 section.blocks 取得,在使用迴圈的方式渲染每個商品,這邊引用預設 snippets 的 product-grid-item 來建立。
all_products 是一個 Global objects,我們在 schema 定義給商家的選擇欄位是 product_id,在轉換到 Liquid 時只能抓取到商品的 Object handles,所以需要通過 all_products objects 來找出指定的商品
schema
在 settings 標籤屬性:
id指的是定義 Liquid 存取的變數type定義給商家輸入的類型,類型包括 image_picker、radio、video_url ⋯⋯等label顯示在主題編輯器上的名稱default設定輸入欄位預設值
接下來調整前端程式的部分
調整 layout/theme.liquid
<!-- <script src="{{ 'theme.min.js' | asset_url }}" defer="defer"></script> -->
<script src="{{ 'theme.js' | asset_url }}" defer="defer"></script>
這邊因為使用 theme 預設的 script,所以要調整一下載入的路徑
調整 asset/theme.js.liquid
theme.CustomSection = (function() {
  function CustomSection(container) {
    var $container = (this.$container = $(container));
    var sectionId = $container.attr("data-section-id");
    var slider = (this.slider = `#ProductGrid-${sectionId}`);
    var $slider = $container.find(".slick-product-grid");

    if (!$slider.length) {
      return;
    }

    var slickOptions = {
      arrows: true,
      dots: true,
      autoplay: true,
      autoplaySpeed: 1000,
      slidesToShow: 5,
      slidesToScroll: 1,
      swipeToSlide: true,
      infinite: false,
      speed: 200
    };

    var mobileOptions = $.extend({}, slickOptions, {
      slidesToShow: 2,
      centerMode: true,
      focusOnSelect: true,
      autoplay: false,
      infinite: true
    });

    enquire.register(theme.variables.mediaQuerySmallUp, {
      match: function() {
        theme.carousel.init({
          slider: $slider,
          slickOptions: slickOptions
        });
      }
    });

    enquire.register(theme.variables.mediaQuerySmall, {
      match: function() {
        theme.carousel.init({
          slider: $slider,
          slickOptions: mobileOptions
        });
      }
    });
  }

  CustomSection.prototype = _.assignIn({}, CustomSection.prototype, {
    onUnload: function() {
      theme.carousel.destroy($(this.slider));
    }
  });

  return CustomSection;
})();

$(document).ready(function() {
  $("body").addClass("page-loaded");

  theme.init();

  sections.register("custom-section", theme.CustomSection);
});
這邊使用原始架構的 script 進行區塊的擴充,在 jQuery 載入時使用 sections.register 註冊一個我們定義的 object,參數 custom-section 是在 sections/custom-section.liquid 裡設定的 data-section-type。
在定義的 object 中所要控制的元素效果就可以寫在這裡,比較要注意的是需要提供一個 prototype.onUnload 方法,當在主題編輯器移除區段時可以清除。
在 JavaScript global variable 中有個 Shopify.designMode 參數,往後需要開發更複雜功能時可以使用,區別目前所執行的程式是否在主題編輯器中。
以下是這個例子中設計的商品輪播 Sections:

